")
")
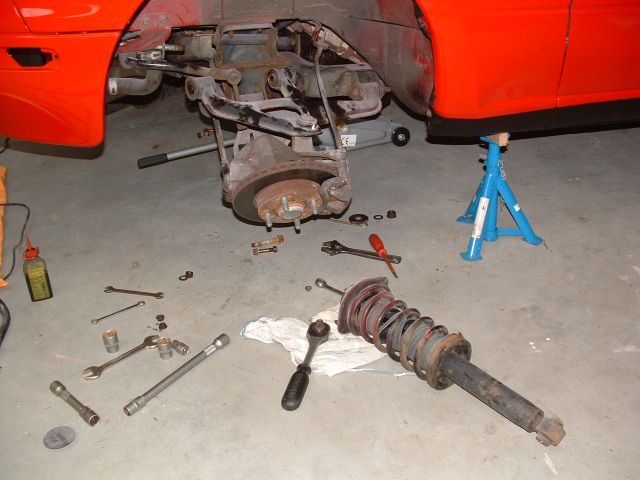
What do you need:
- a pair of jackstands (at least two)
- a good jack
- a good set of ratchets and combination spanners
- a large extension for the ratchet or an end of pipe to complement the spanners
- penetrating oil
- a hammer
- a torque wrench
About dampers and springs:
If you have doubts about the condition and state of your shock absorbers, have them tested by a garage or tire dealer. The car then goes on a test bench and the operation and damping of the chassis is checked. Often you also get a printout on which you can see how "bad" it is. Such a test is usually performed at no extra cost.
A clear indication that something is wrong is if you drive over a bit of a strong bump (for example, a bridge ramp on the highway) and you feel the car pull to one side when "coming down". The damping on one side is then clearly less.
If it turns out that they are indeed in need of replacement, you are faced with the choice; do I keep it original or do I go for a sportier set ...
A sports set often has the advantage of tighter handling, but the additional disadvantage is that it becomes a bit "stiffer", so you will loose some comfort. You can go as "sporty" as you want. Sometimes you barely notice the difference and with another set the fillings rattle from your teeth.
There is a very large variety of dampers and springs and combinations of these. Talk to fellow mazda drivers and clubmates and ask about their experiences. Be well informed and then decide for yourself which brand / type of damper and spring you want.
Replacing the front shock absorbers:
Start a day or two beforehand. Lubricate all nuts and bolts of the dampers, torsion bars and carrier arms generously with penetrating oil.
When you are ready begin by undoing the wheels and putting the car on jackstands.
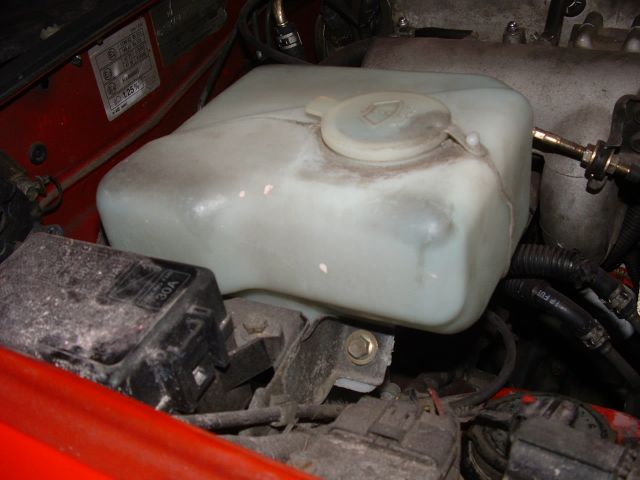
If you have an MX-5 you will have to remove the windshield washer tank to gain access to the nuts that hold the damper. A Miata has a smaller tank so this isn't in the way. The tank is held by three M10 nuts.
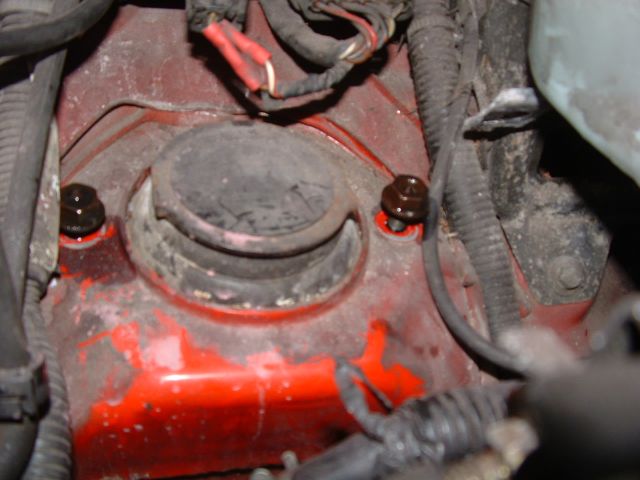
Undo the two nuts that hold the damper to the body. It is most easy to leave one (ore two) on for a little. To keep the shock to the car and you will have your hands free to work (in stead of holding the damper up all the time)
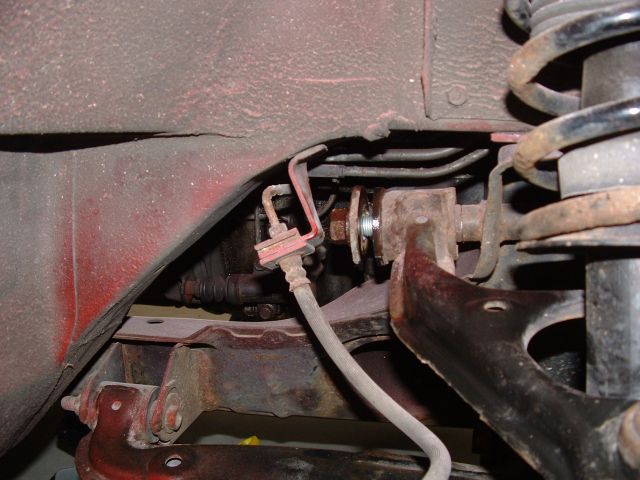
Next release the lower shock bolt. This is held with a nut. So use a spanner on the other side. Then undo and remove the lower torsion bar bolt. Do this on both sides so you can lower the suspension independently.
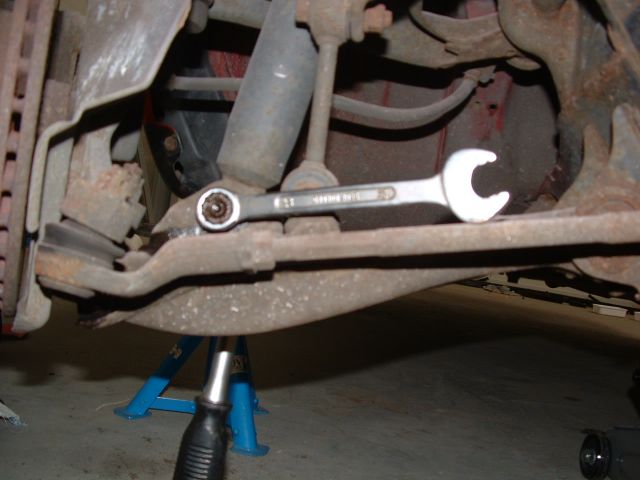
Now the damper is released, but the tension in the rubbers of the suspension keeps everything upright. In this state, the suspension cannot be lowered enough to allow the shock absorber to pass. The upper arm must be detached from the body. This is fixed with a very long bolt and a nut. This is very tight so use a good extension or an end of pipe on a ring spanner to undo it. The most space is at the front of the car so turn on that side.
Be prepared that you have to use a lot of power. Be careful and avoid pushing the car off the stands!
Never use a torque wrench for loosening such nuts/bolts. This leads to unwanted wear and an impure effect!
Use a hammer to tap out the bolt.
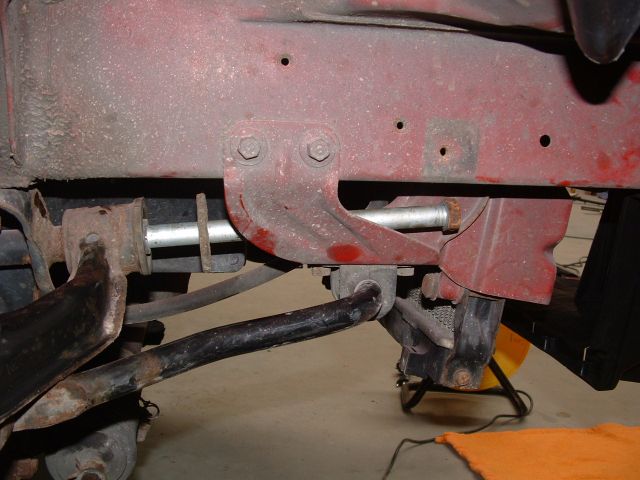
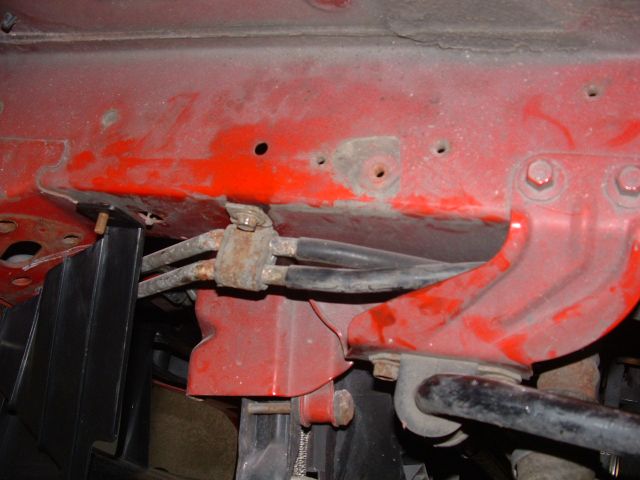
If you have power steering the pipework passes at the drivers side. It is tight but the bolt should just be able to pass.
If you have the bolt out the arm swings front and out. Be care not to drop it. Avoid excessive force on the brake line.
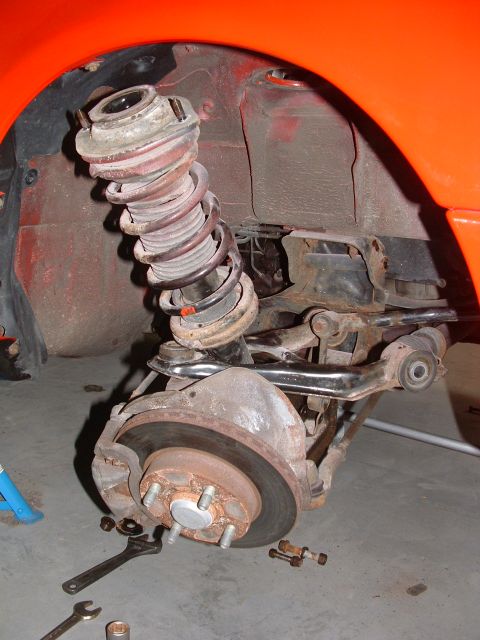
With a set of spring compressors you can disassemble the shock assembly. You can find more about this under 'Replacing the shock absorber dust boots'
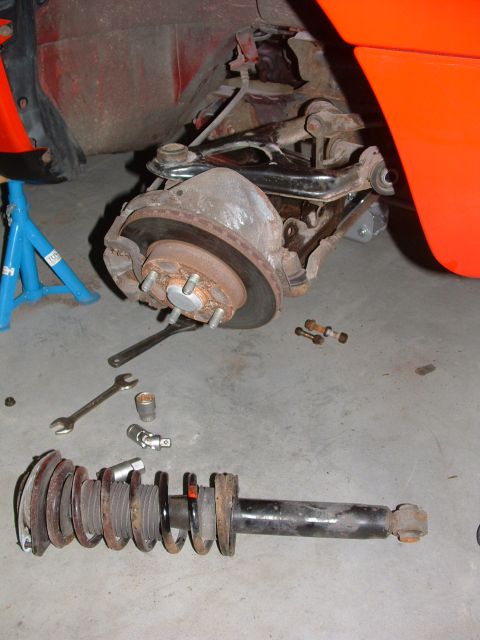
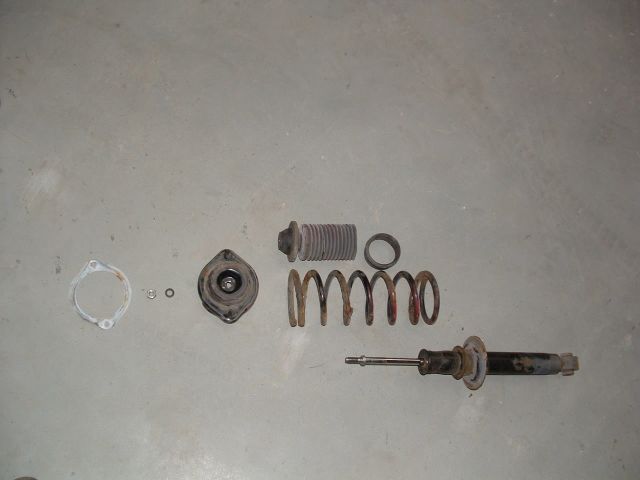
A complete shock absorber consists of (from top to bottom, or from Left to Right on the picture):
- anti-creaking foil
- top-nut of the damper and retaining ring
- top hat
- bump-stop and dust cover
- spring
- shock absorber
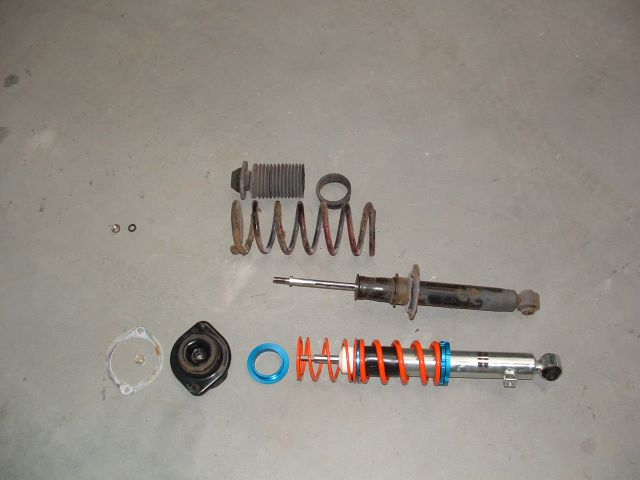
Now it is only a matter of re-fitting the new damper-set. The top hat is usually not included so you will have to re-use the one you have.
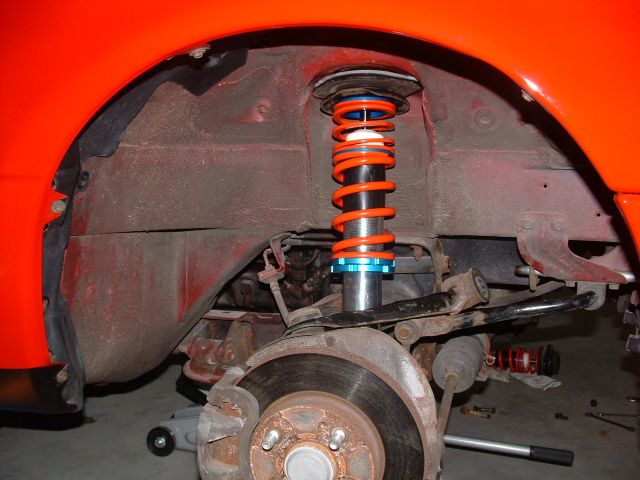
When the damper is assembled again, it is simply a matter of mounting in the reverse order of disassembly.
First secure the damper through the support arm and fit the lower bolt. The bolt head must face the rear of the car. Then twist the assemly under the wheel arch and fit the two nuts on top. Support the lower support arm with the jack if necessary. Then turn the support arm in place and fit the long bolt again. If this is done on both sides, you can also fit the bolts of the torsion bar.
Various torque specifications:
- top nuts (m10): 29-36Nm
- lower shock bolt: 73-93Nm
- long bolt that holds the upper carrier arm: 118-138Nm
- torsion bar end link bolts: 36-54Nm
Do not forget to fix the windshield washer tank!