")
")
What you need:
- a new hood,
- some room to work. Preferably the size of the car. Think 2x4m (6ft by 12ft),
- a rug of or something else that doesn't scratch to work on,
- keys / ratchet 10, 12, 14,
- philips head screwdrivers small/large
- flat screwdrivers small/large
- (cordless) drill to drill out the old rivets,
- an old fork or claw-hammer
- ducttape
- new rivets and matching rings (rivets size large (15x4mm) and small (10x4mm))
- pop riveter
- slip joint pliers / monkey wrench
Choosing a softtop
Before you buy a new hood, you should think carefully about what you want. What is on the car and how do you like it? Do you stay with the original or do you have specific wishes? There are many different types, and also available in just about every conceivable color.
Do you stick with original vinyl or would you prefer a fabric cover? With fixed window or detachable? PVC or glass pane (with or without rear window heating)?
Be well informed and look around. Maybe you can ask other Mazda drivers about their experiences. The choice is very personal. There is no "best" hood. Although there are, of course, differences between the various manufacturers.
The old hood
First have a look at the old hood again. Is it really due for replacement? Leaks all the way? Isn't that due to the adjustment of the window rubbers? Cracks in the known places (in the middle above the door and at the bottom near the hinge)? A torn or damaged window can be replaced by a sailmaker. That might be a lot cheaper than fitting new hood.
Is it really worn out? Then it is time to fit a new one. Even a hood does not have eternal life ...
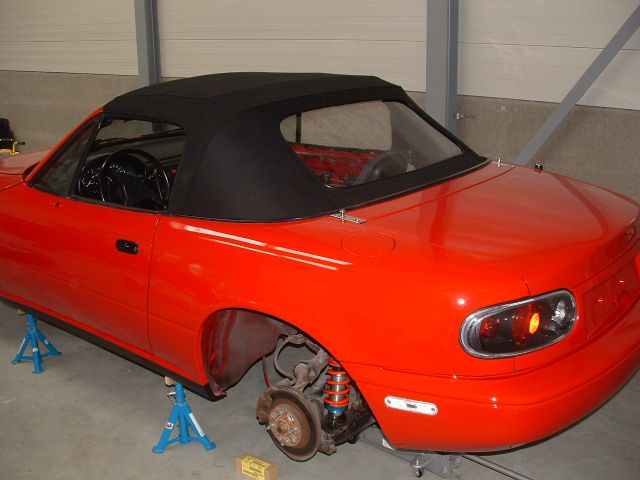
Dissasembly
Disassembly of the old hood is not very difficult. It is mostly a matter of just removing everything that is in the way.
Start by cleaning and vacuuming the car. Make yourself a clean workplace where there are no obstructions. Firstly remove the carpet from the parcel shelf. For this, the black plastic snaps have to be removed. These can be a pain. Once in, you can hardly get them out. The trick is to grab them under the head with an old fork or the head of a claw hammer and then pull them out.
After the carpet has been removed, the side covers must first be removed. Remove the black snaps (pull out the middle button slightly and then pull the outer one) and the 10mm nuts with the knob. The cover is also fixed under the door frame (unscrew the black liner on the sill) and clicked into the body with clamps. Pull at right angles and not up- or forward.
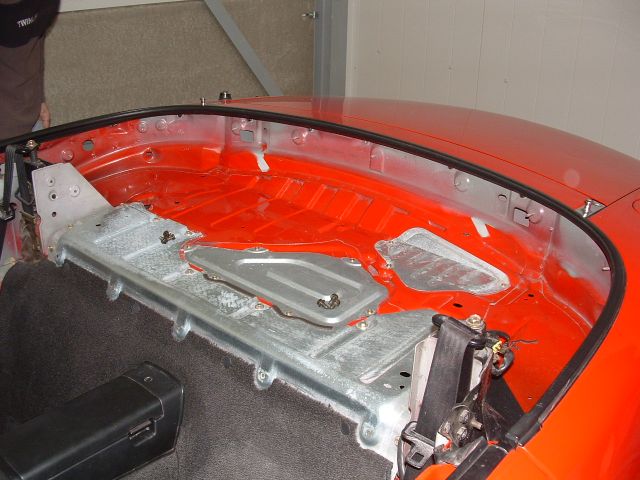
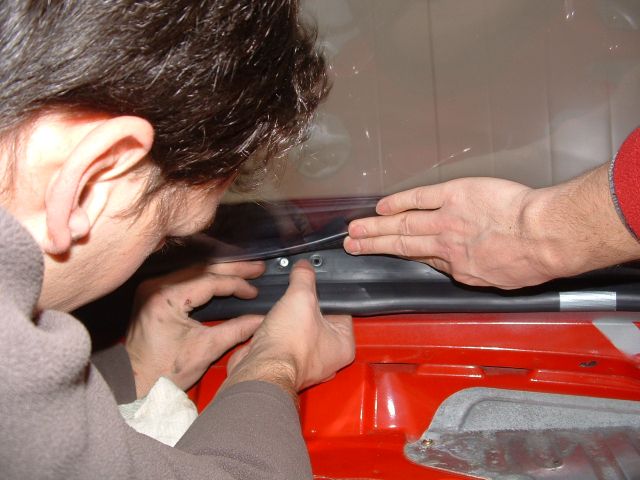
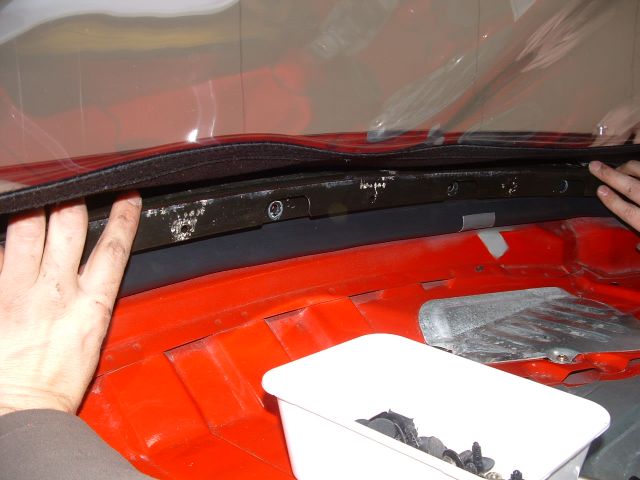
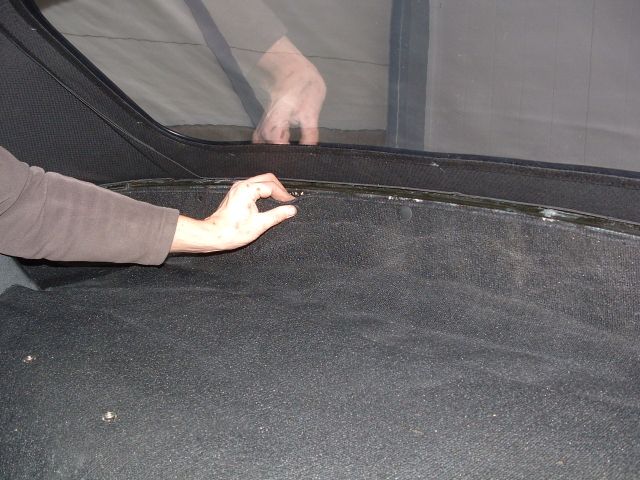
Where the carpet was fitted to the bottom edge of the soft top is a black rail. This is made up of three parts. These must be removed. Start by undoing the nuts (10mm). It is easiest if you first remove the two short sides and then middle one. With the rails off, the rainrail must now first be undone. It is secured at both ends with a snap in the body. These are a little tricky to reach. Open the soft top slightly (make sure that someone holds it so it does not open all the way). The rain rail is secured on the inside with a snap, just like the one with which the carpet is attached. When the snap is out, you can carefully remove the rain rail / bottom of the soft top from the body. Start in the middle and work your way to the ends.
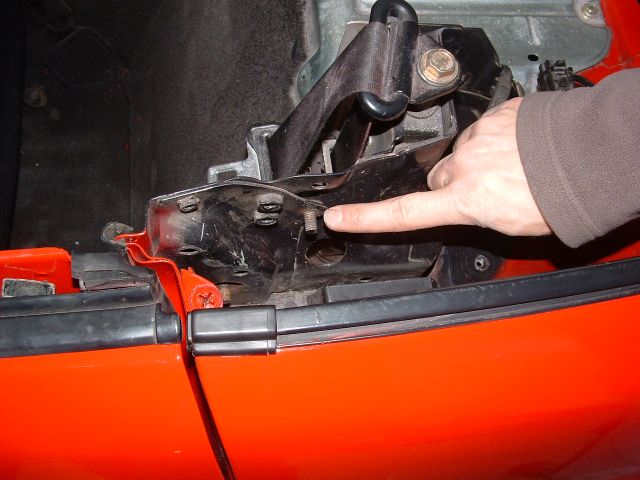
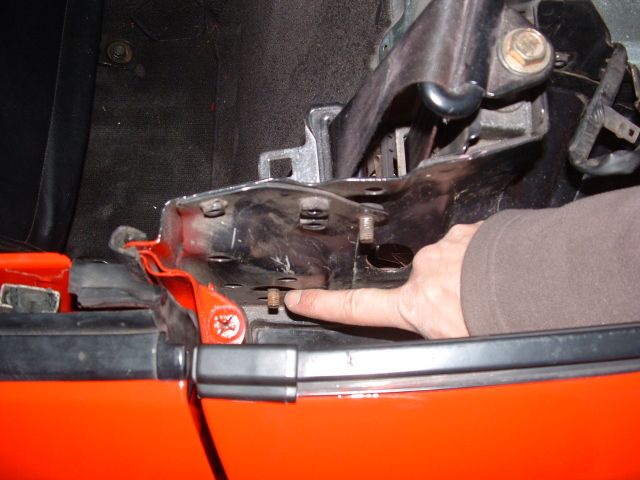
If this has come off, you are ready to take the frame off the car. It is secured on both sides with three 12mm bolts. Once these are out, and the rain rail is completely undone all around, the soft top can be lifted off the car.
Place the top upside down (with the outside on the floor) on your work surface.
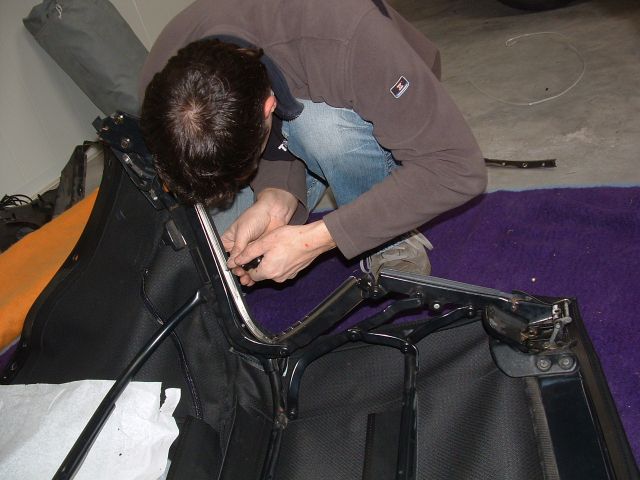
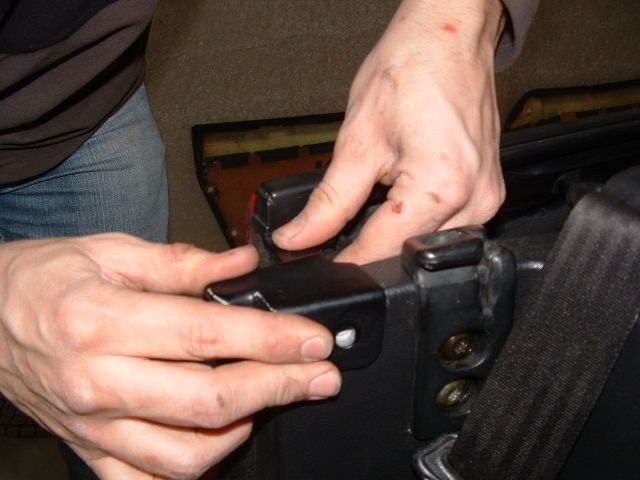
It is attached to the frame in various ways; the lower window seals (which are now on top) are attached with snaps. You can easily pull off the middle seals and the front ones are secured with small screws. Both the front steel rail and the stainless ones that hold the window seals use phillips head screws. Take these off too.
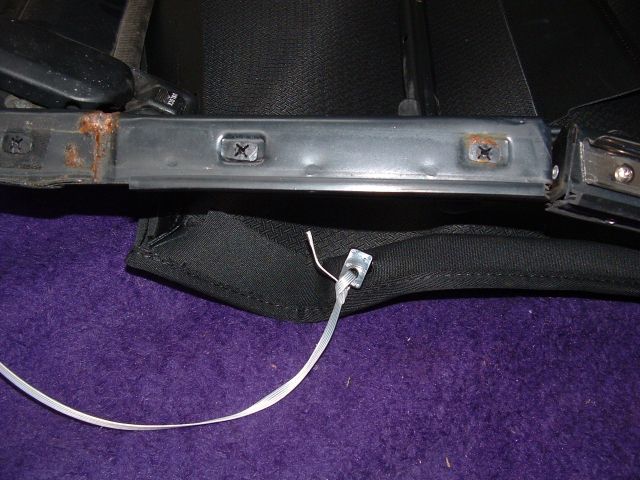
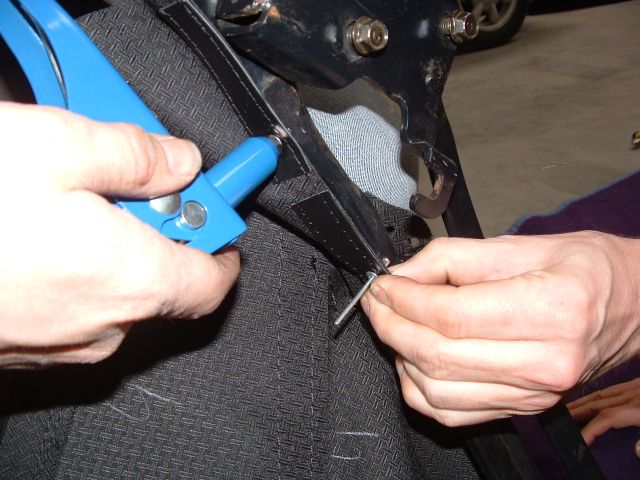
Now he it is only held by rivets. The best / easiest way to drill them out is with an 8mm. drill at low speed. So a cordless drill with adjustable speed is preferred. Above all, drill slowly and try not to do it too quickly. Take special care at the rain rail. the plastic is frail and can be brittle. Try to assess in advance whether it can still be saved. You can fix small cracks and damages by taping them over with duct tape.
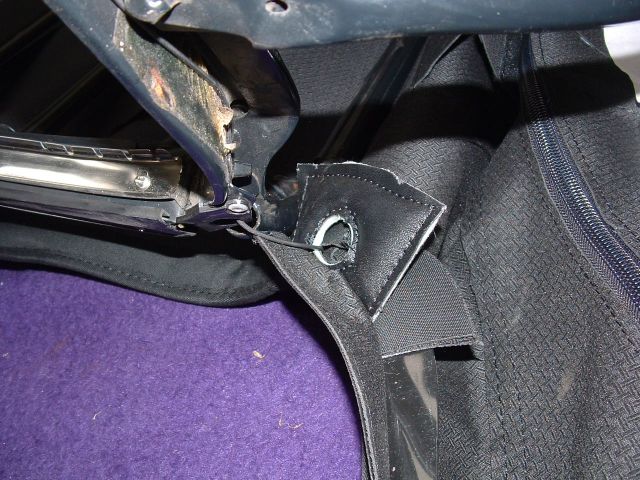
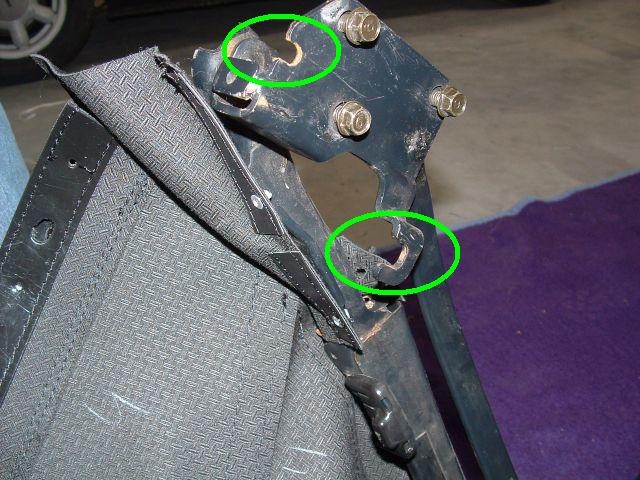
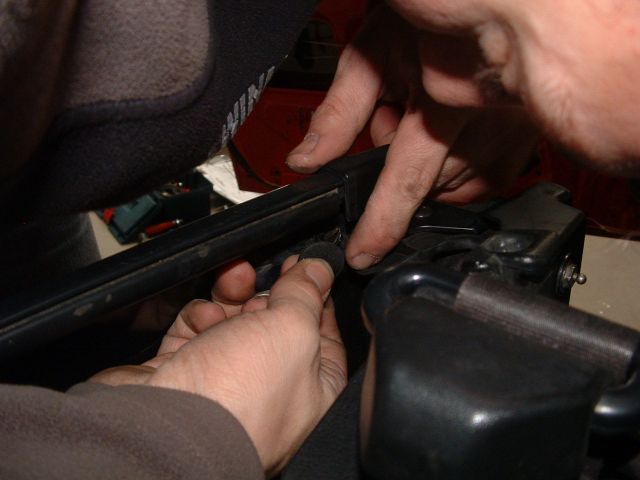
Take care whyen drilling out the fixings of the tensioner cables at the front of the top. Prevent the thongs from bending. The tension cables will have to be re-fitted later on (or replaced when they are broken).
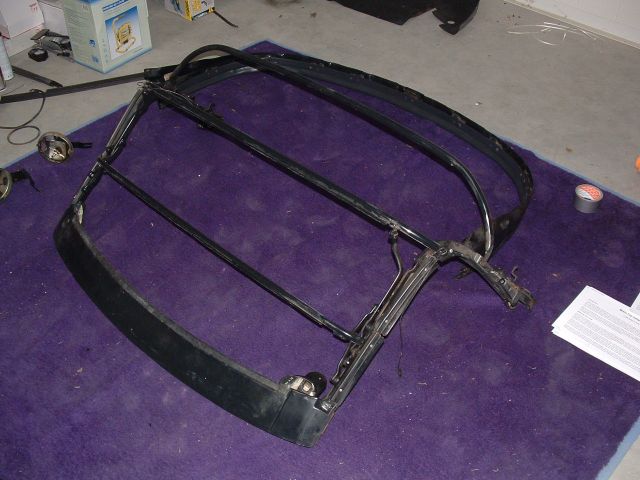
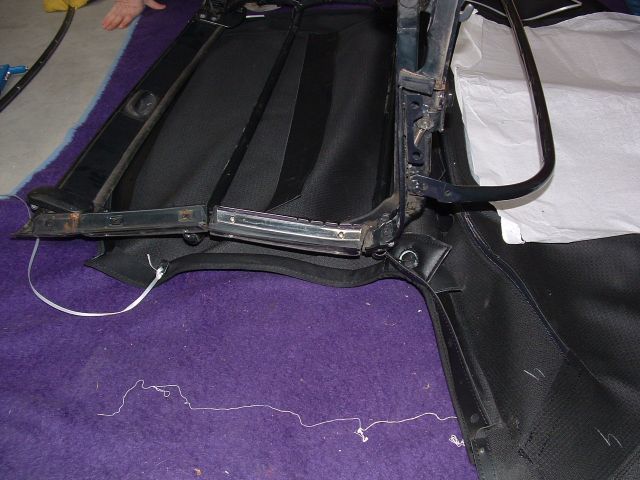
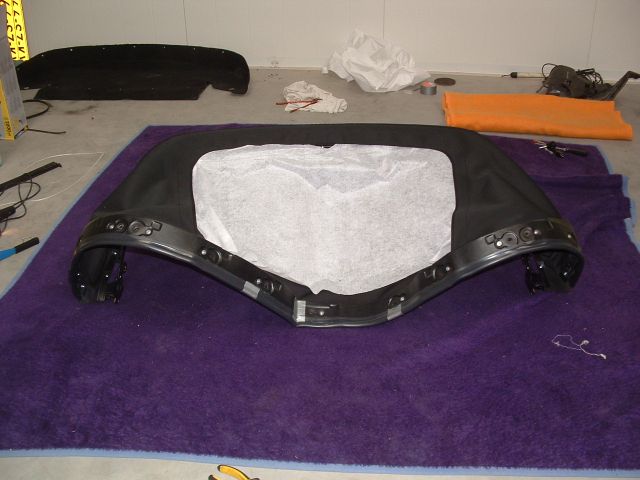
If you have taken everything off the frame looks like this:
Start by unfolding the new hood upside down on your workplace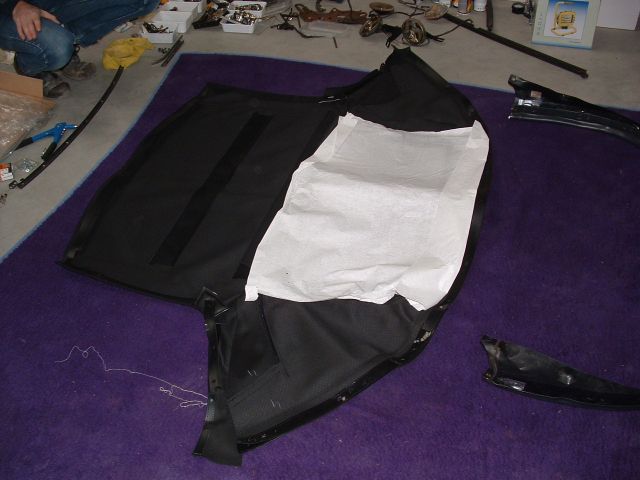
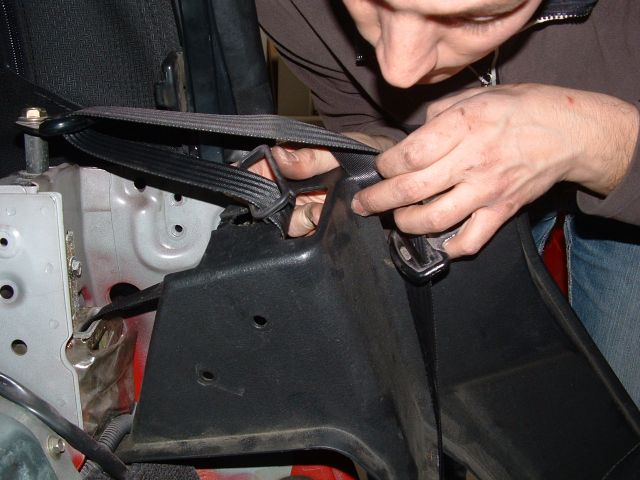
On this, lay down the frame. When fitting the hood start at the edges left and right at the hinge. First guide the tensioner cables thru the edges of the hood to the front. Easiest way to do this is to use a piece of wire.
Then firstly fit the sides to the frame with the rivets.
Next turn the frame/hood over and fit the tensioner cables at the front (with the 'long' rivets).
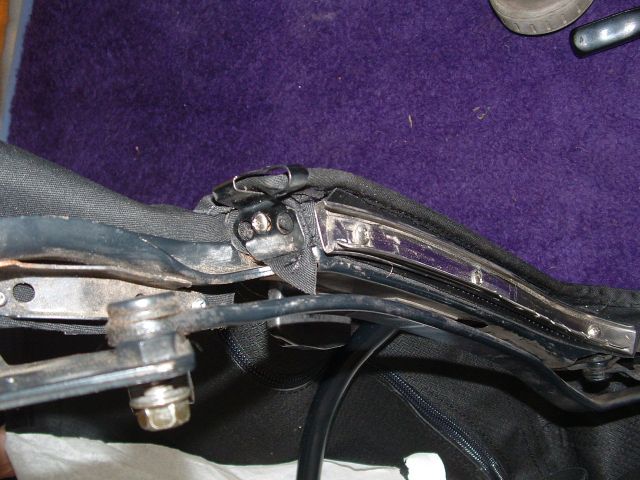
When the tensioner cables are fixed you can fit the corners of the hood over the frame and re-attach the stainless frames for the window seals.
After this fit the clamps at the 'bottom' of the hinge. Then the windows seals can be fitted. You can easily press them back into the guide. It can often be quite difficult to get them to seat properly. I use a flat screwdriver to carefully pry the edge in place.
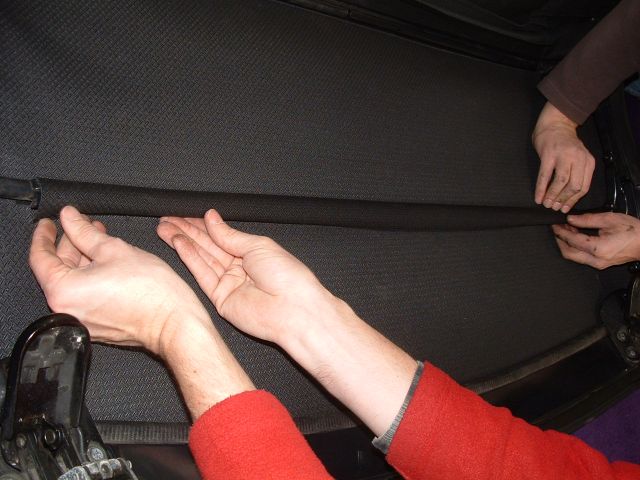
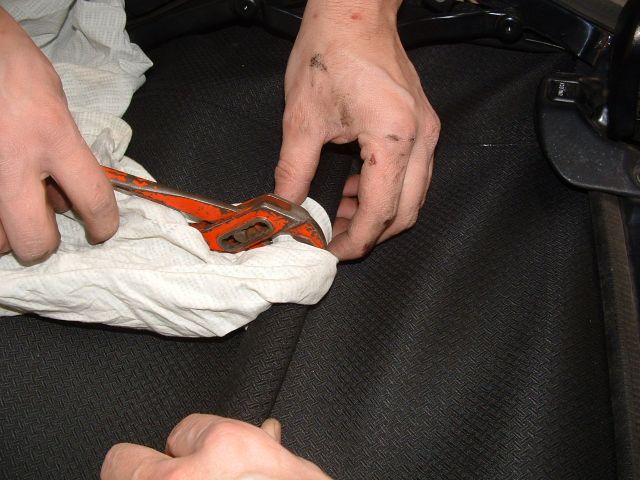
All we need to do now is fit the center to the frame. Bend the guide open so it is opened a about a cm (3/8inch). Fold the flap over and fold the edge around and in. Carefully clamp the guide closed with the slip joint pliers. Use a piece of cloth to prevent damage to the top.
The hood is now fitted to the frame. Only the rain-rail needs to be attached.
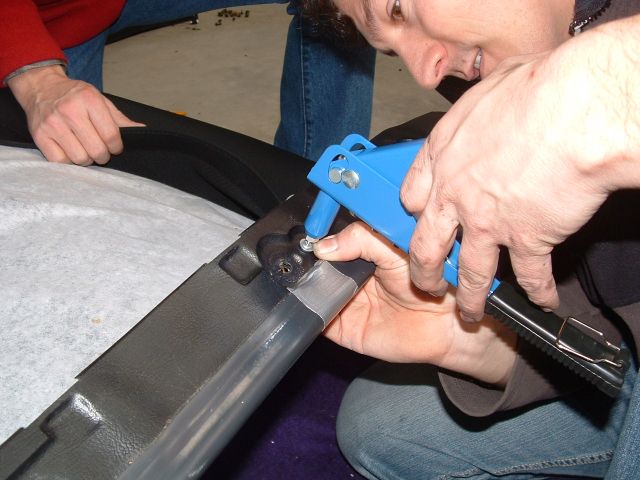
Thurn the frame over so it sits right side up. Fit the rain-rail to the end of the hood. And fix with the rivets. I prefer to start at one end and work my way around. Where the fabric of the hood is sewn together I use a small ring on the rivet do it does not get pulled thru. This can also be done all the way around when the rain rail is in a poor condition. To prevent stress-cracks in the plastic.
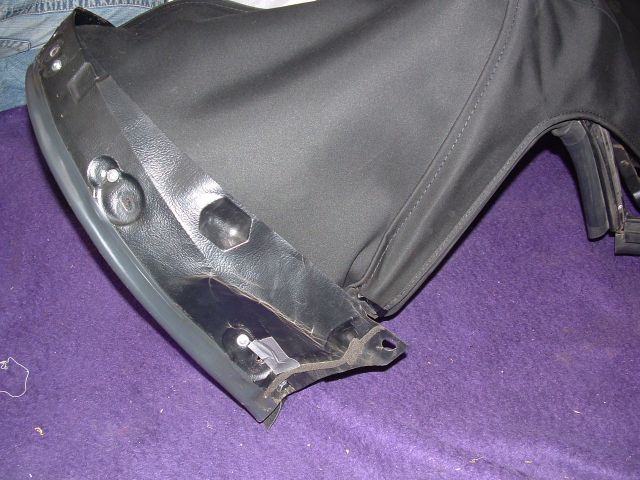
The result:
The (PVC) window protected by blotting paper. The rain-rail repaired in various places with duct-tape.
Now check the car and see if there is nothing in the way when you lift the top back on. The frame can be lowered on to the guide pins that are inside.
Simply lift the hood over the car and lower it onto the pins. This is a two-man job. You probably need a free hand to guide the rain-rail. Carefully press the rain-rail over the pins. Start in the middle and work your way to the edges. Try to prevent stress in the rain-rail. It would be a shame to damage it in this stage.
IMPORTANT: make sure the rain-rail sits behind the rubber flap that is fixed to the edge of the car. Or else the water coming off the top will run behind it and in to the car.
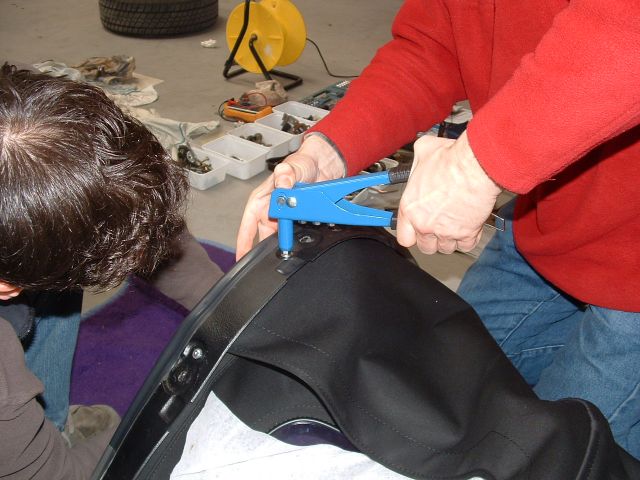
After this fit the black stel rails. Start with the middle one. Tighten the nuts in two or three stages to a preferred 8-12Nm.
Next fit the covers and the carpet.
Now unzip the window (if necessary) and lower the top. Fit the protectors at the ends and then you are done.
Don't forget to fix the end of the rain-rail with the snap:
First close.
Do this carefully and evenly. Again this is a two man job. One can push from behind at the frame while the other helps from the inside and closes the latches.
After fitting leave the hood closed for at least 48hrs. So it can 'set' itself to the frame and the fabric can stretch a little.