")
")
What do you need:
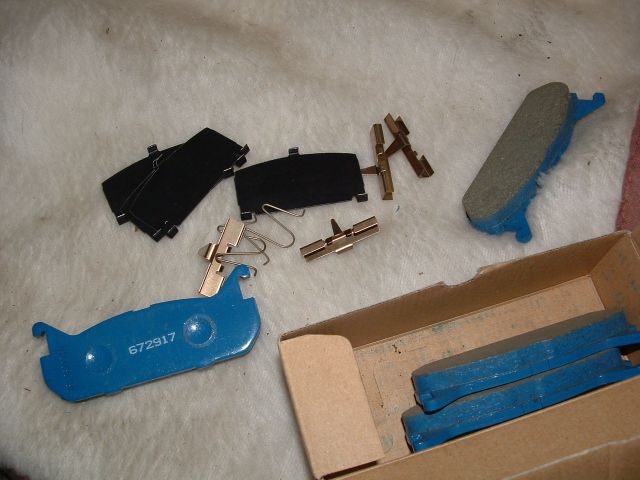
- a set of new brake pads
- optional, a set of new brake discs
- wrench/ring key no. 14 (or ratchet),
- wrench/ring key no. 10 (or ratchet)
- allen key no.4
- jackstands (or you can do it one side at a time, in which case you can do it with only the jack),
- optional, M6 bolt and a hammer
Always replace your pads and/or discs per axle, so left and right at the same time!
WARNING:
do not press the brake pedal when when there is no disc between the pads!
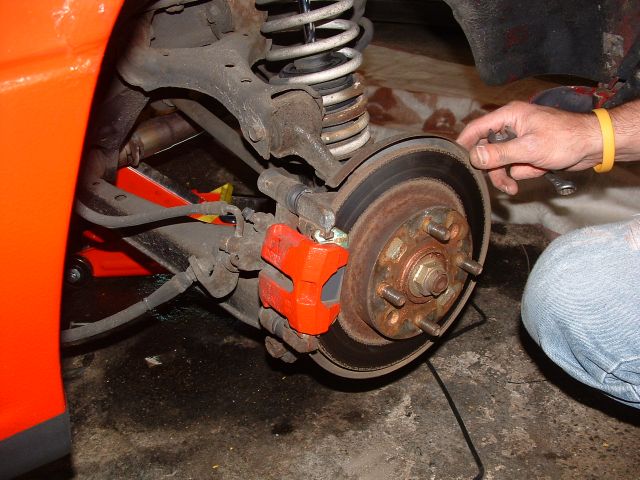
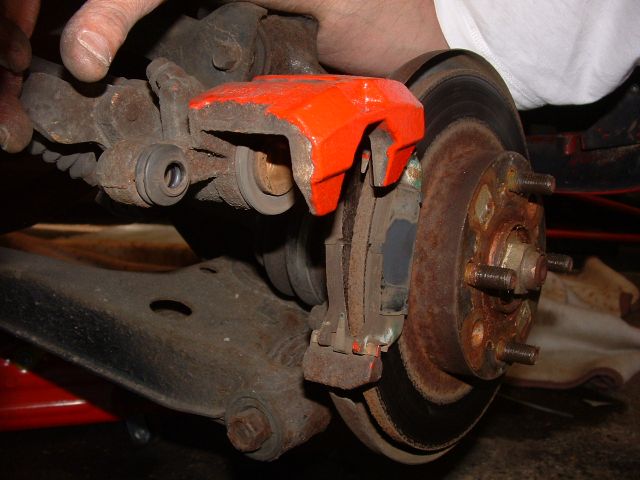
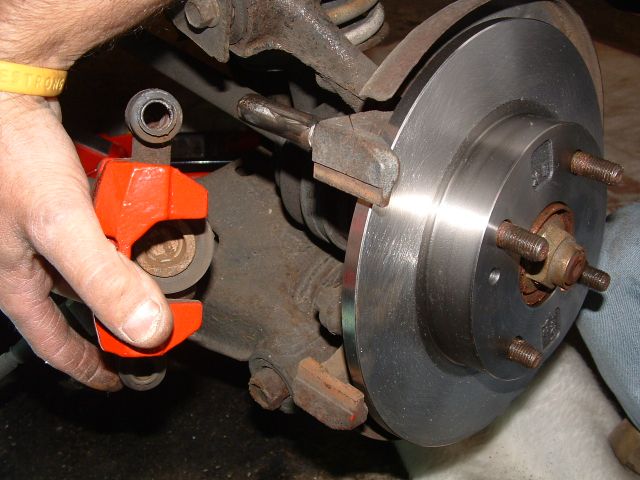
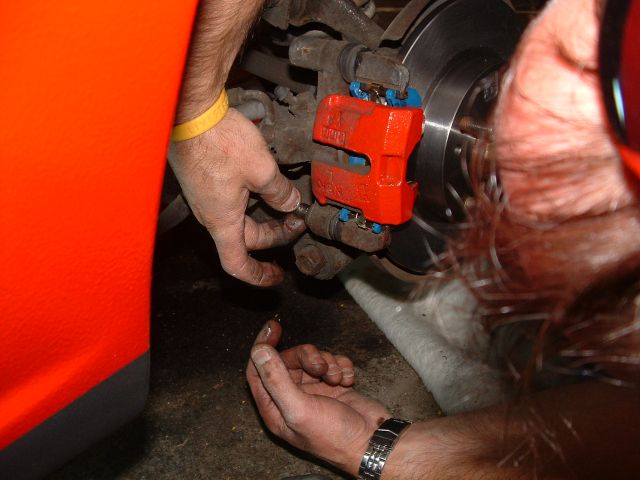
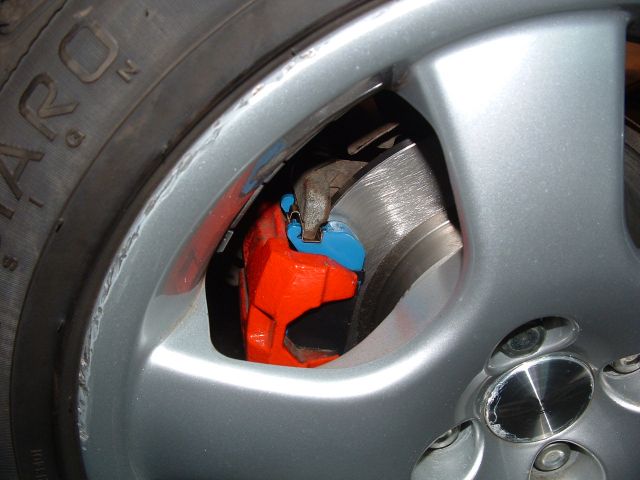
Start by undoing the wheel nuts and jacking up the car and place it on the jackstands. Take the wheels off. You can see the caliper:
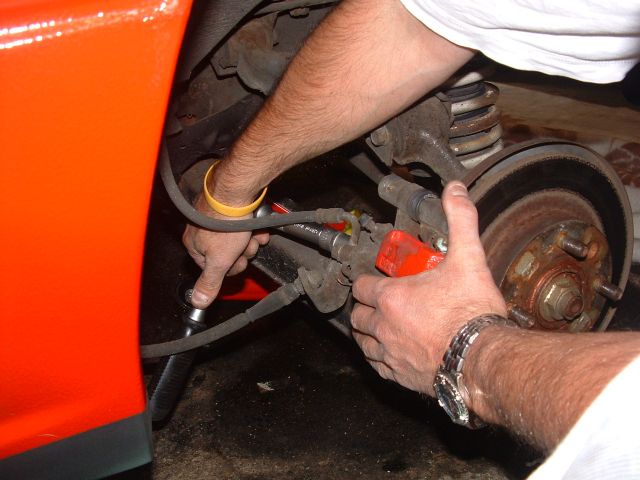
Start by rewinding the Start by reversing the rear brake adjustment mechanism. The rear brakes are equipped with a self-adjusting mechanism that absorbs the wear of the brake pads. This works with a set screw inside the caliper.
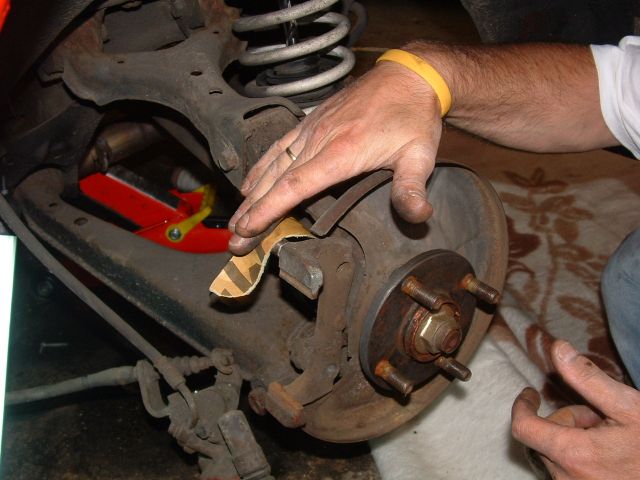
Take wrech no.14 and undo the rearmost of the two 14mm bolts. The front holds the handbrake cable. The rear one is a dustcover to the adjusting mechanism (left on the photo below).
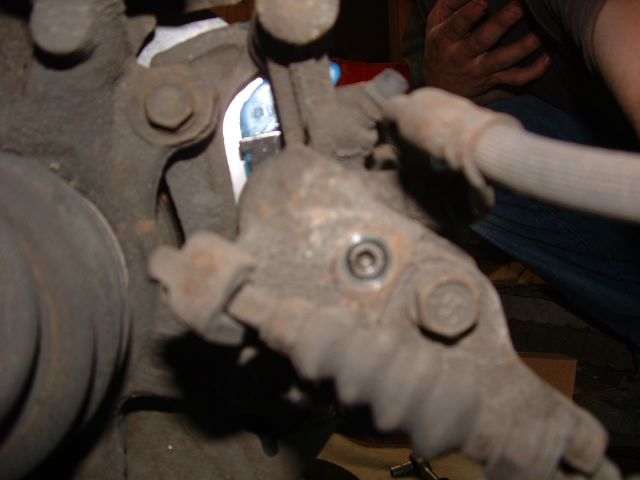
When the bolt is out, you can turn the adjusting mechanism back with Allen key 4. Turn back until it stops. Now feel if the caliper moves freely. If it doesn't, you have turned it in the wrong direction and tightened it. You have to turn it all the way back.
Never try to push back the piston with a pair of pliers! The adjusting mechanism then breaks and it no longer works. You can then no longer adjust the parking brake and the whole caliper has to be taken apart to be reconditioned.
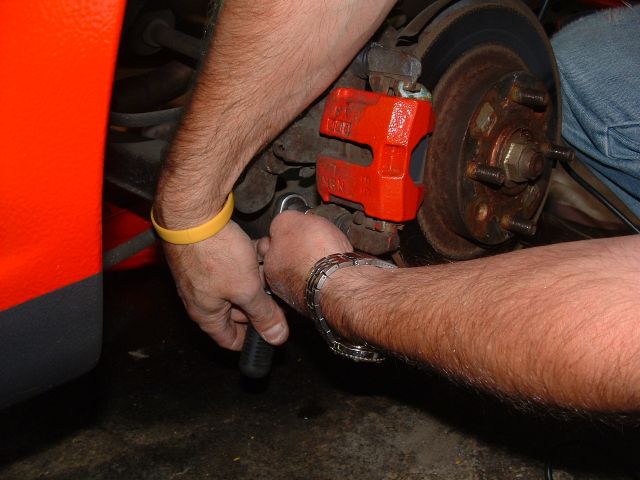
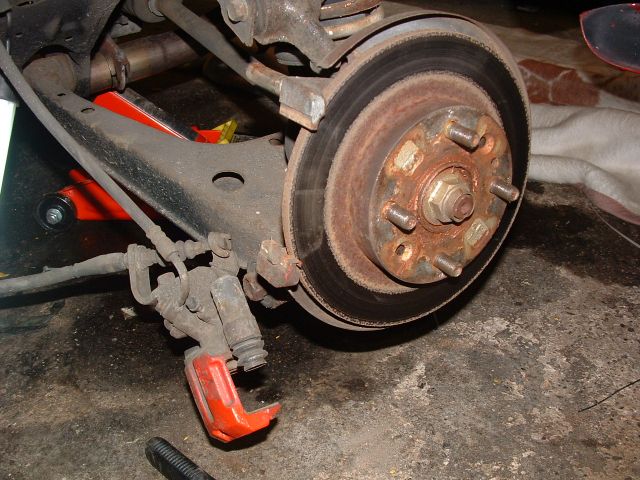
If you have turned back the adjusting mechanism, remove the bottom sliding pin (wrench no.10). If everything was fitted correctly the head is under a black plastic dust cover you can easily pull off:
You can then rotate the caliper entirely and remove the pads, springs, plates etc.:
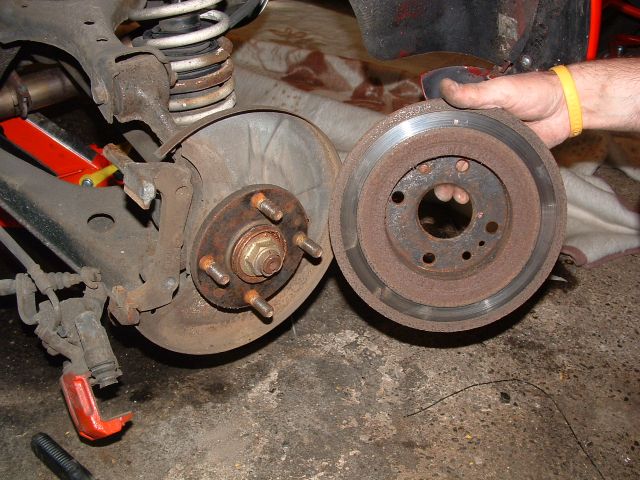
The caliper can be slid off the upper sliding pin and be laid aside while working on the new pads.
This is also the time to remove the brake dics if necessary . It is loosely placed against the hub. If it doesn't come off you can use the hammer. Or use the small M6 bolt in the threaded hole:
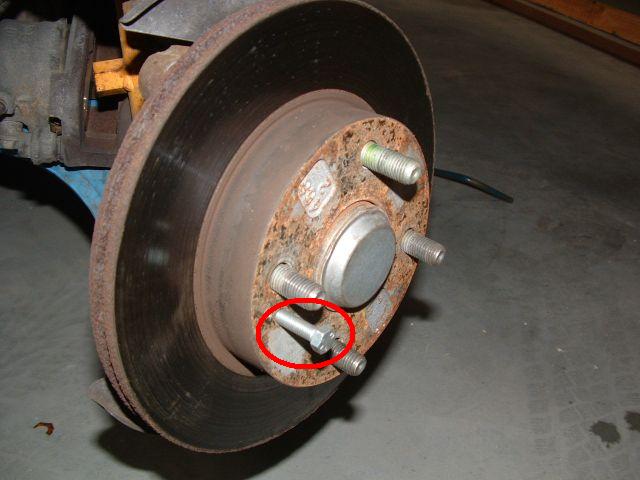
(pictured is a front disc)
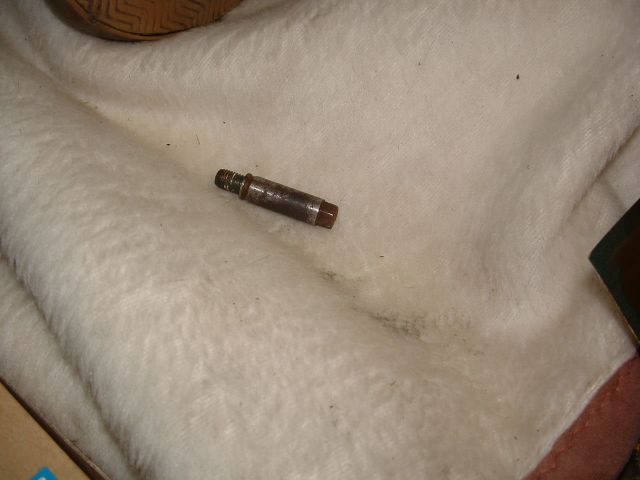
A well-known ailment of the MX is that the sliding pins of the rear brakes in particular sometimes rust. As a result, the caliper can no longer move properly, the braking effect decreases and the blocks wear unevenly. Therefore we have to check whether these are still in order. Clean them well and grease them with a good heat-resistant grease (for example molybdenum grease). If they are already somewhat corroded, you can sand them with a fine sandpaper until the corrosion is removed:
Also check the rubber dustcovers on the caliper. Are they undamaged? They cannot let dirt and grime in? If these aren't up to spec it is the beginning of the end.
Also clean the lower sliding pin:
Before you replace the (new or old) brake disc first grease the surface lightly to prevent the disc rusting to the hub.
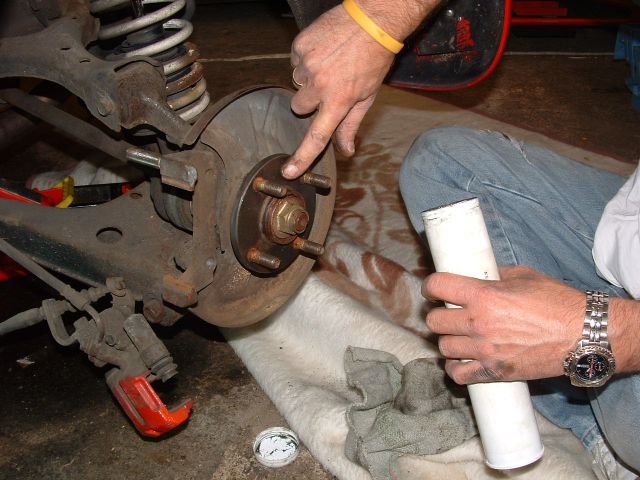
And then you can place the disc:
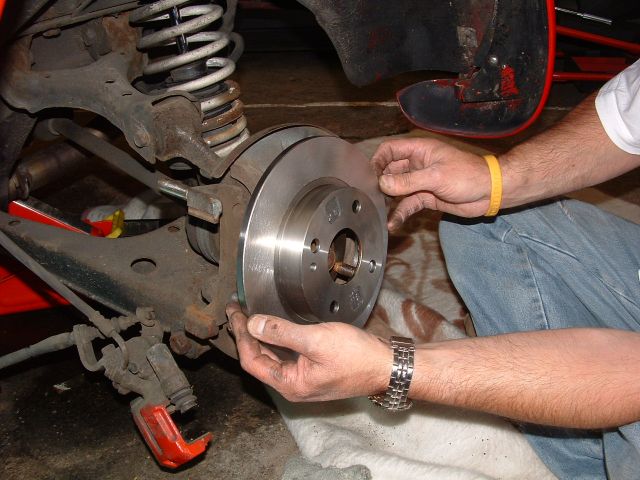
Next get the new stuff out, pads, springs, plates:
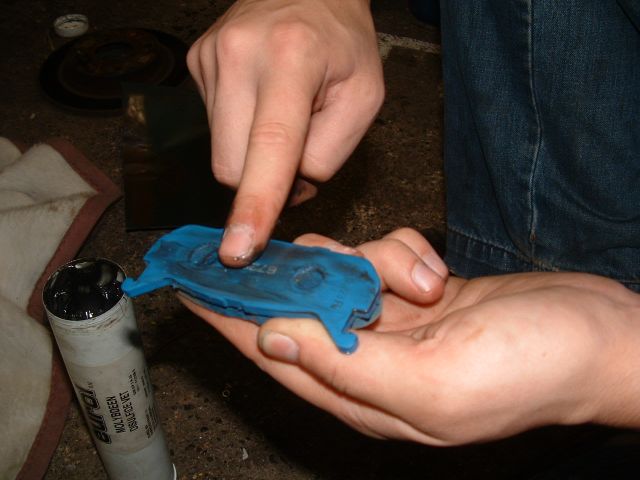
Lightly grease the back of the new pads, place the black plates and also grease these lightly. Don't use too much grease. You wouldn't want the excess to end up on your disc.
After having done this first slide the caliper on to the (well greased) upper slding pin:
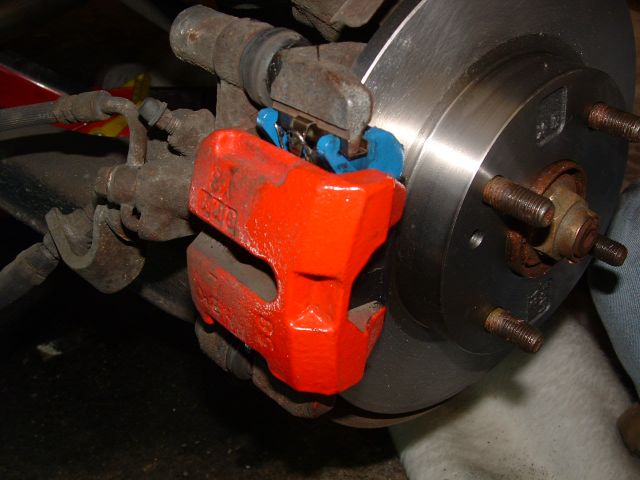
Hold the caliper up and fit the stainless clamps, the pads and the spring. The spring goes at the top side. There should be a small notch inside the pad to hold het base of the spring. This is easiest when you have an extra pair of hands at your disposal.
If everything is fitted your can lower the caliper over it:
Re-insert the lower (greased) sliding pin and tighten it (34-39Nm):
Re-fit the plastic dustcover.
What follows is one of the most critical actions.The brake must now be adjusted outward so the parking brakes adjusting mechanism can do its work properly again. Fully tighten the Allen key from the rear until the brake pads just touch the disc. If you did this right you should just be able to (not) rotate the shaft. Now turn the socket 1/8 turn back. If is right, the caliper is now released and you can turn it freely. Now apply the parking brake and check whether itholds. Everything good? Then you can continue. If not, you must re-screw the adjusting bolt and start over.
Do not forget to refit the bolt to cover the Allen bolt. If this is all done you can put the wheel back on and switch to the other side.
Especially when you fit new discs and, to a lesser extent, when you fit new pads, in the beginning the braking will be less.
You can wear them in by finding a quiet road and braking firmly from 60mi/hr to a walking pace (don't stop). Repeat this for about nine more times. After a few times you will start to smell the brakes but it should go away towards the end. after this take the car for a spin to let everything cool off.