")
")
Sometimes something is just worn out. If you suspect that a lot of heat and noise comes up along the gear lever, it could very well be that the boot around it has dried out and perished.
This set of rubbers consists of two parts; one large that seals the interior from what happens "outside" the car and one small one that seals the shift lever on the gearbox. This is the most important one for this one prevents, that sand and grime can get into the gearbox.
For this job you need:
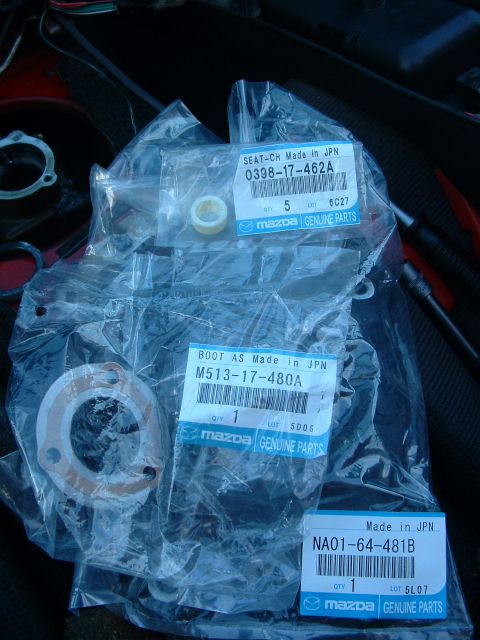
- a new 'large' shift boot (NA01-64-481B)
- a new 'small' shift boot (M513-17-480A)
- a new nylon cup (0398-17-462A, can only be aquired as a set of 5)
- about 70cc ATF-oil of gear-oil (75w90)
- a Phillips head screwdriver
- ring or ratchet no. 10
Starting with:
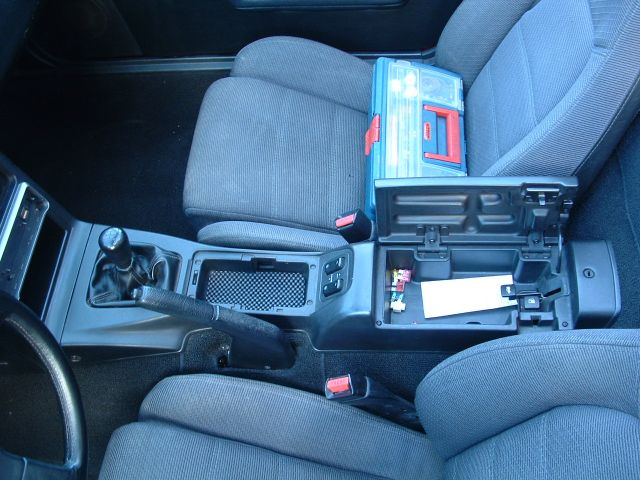
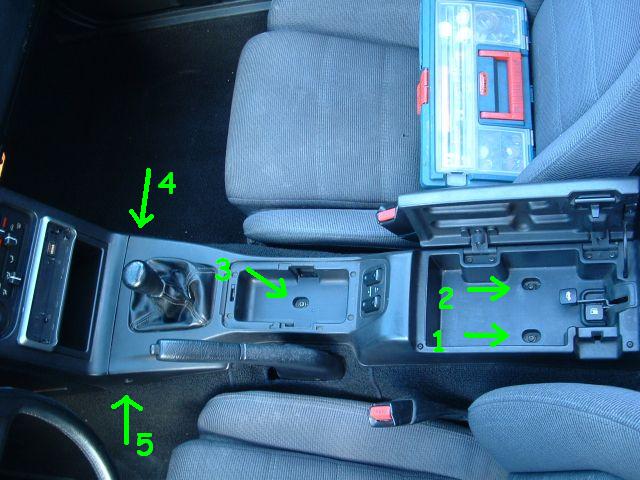
firstly, remove the ash-tray and empty the storage compartment:
Next, undo Five (5) Phillips head screws. 2 in the storage compartment, 1 under the ash-tray and two more on either side at the front:
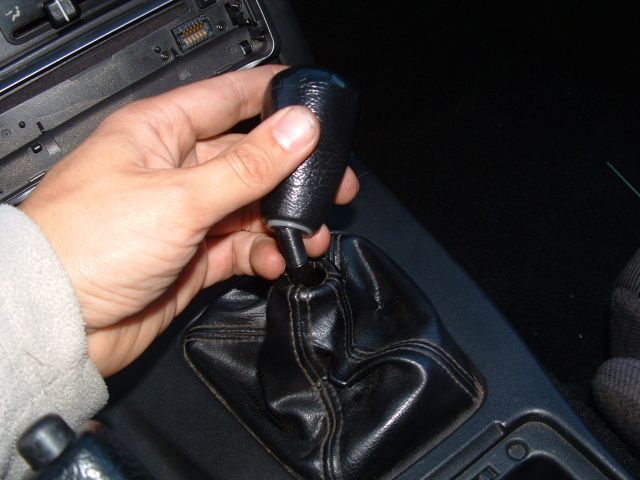
Then, remove the gear knob. Grab firmly and turn counter clockwise:

Then you can remove the center console. Lift the front first and then pull forward a little to release the levers of the tank and boot. Then you have the choice to ór undo the connectors of the windows (when fitted) and ashtray light, ór tilt the console to the side and leave it aside.
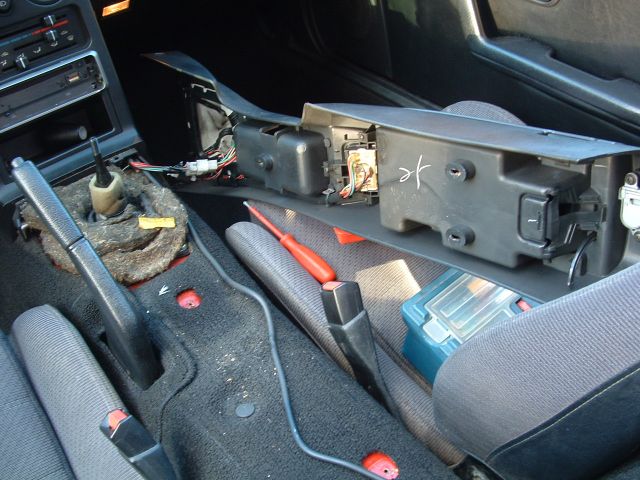
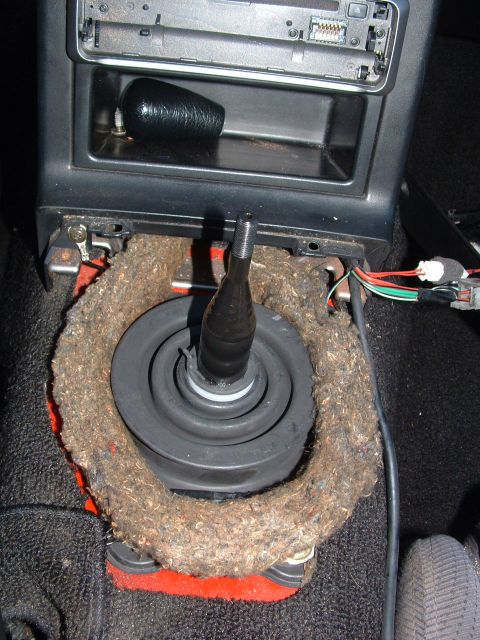
There is some insulation material around the gear lever. This looks like a kind of flax. I was lucky; on mine it was in almost in new condition. So I don't have to replace it. If you do, this stuff is a bit like seat filling. I think it would be possible to buy this at a joiner or interior- or hobby shop.
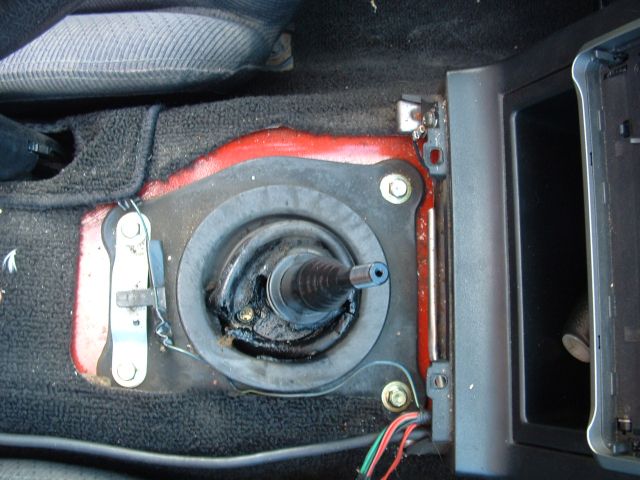
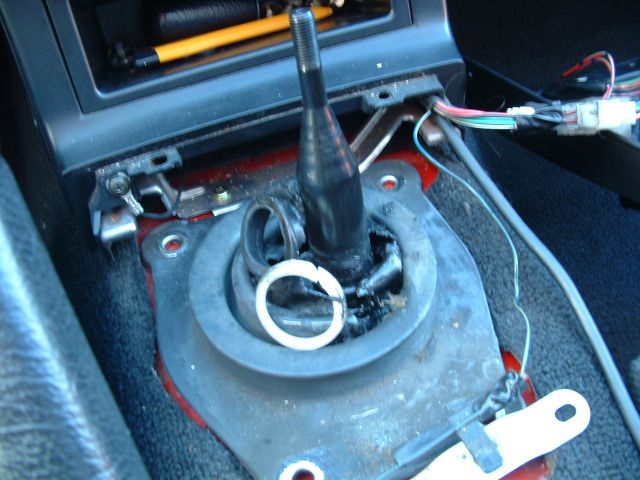
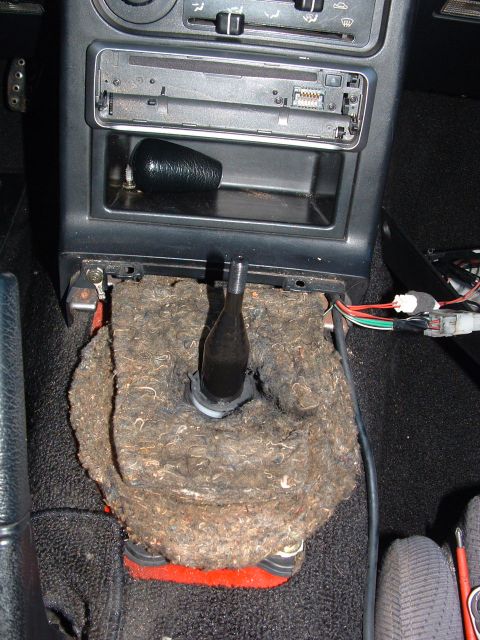
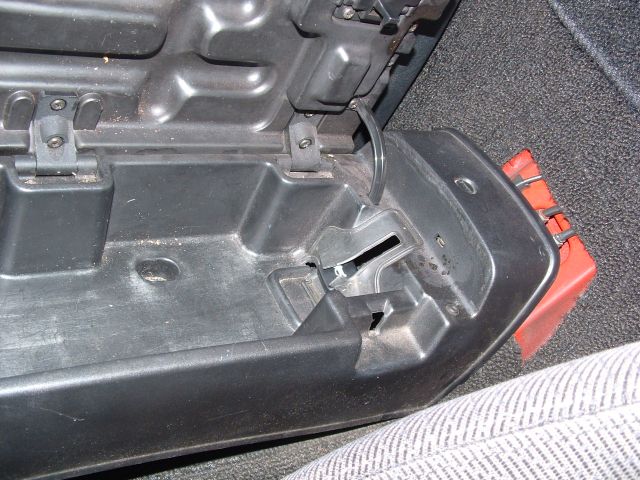
Carefully remove it and put it aside and then you see this (or something similar). The rubber is quite dried out and partially torn. It is attached to the body with 4 bolts (size 10).
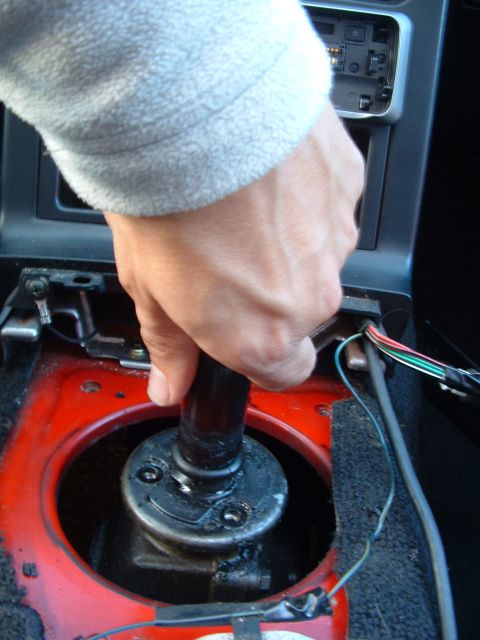
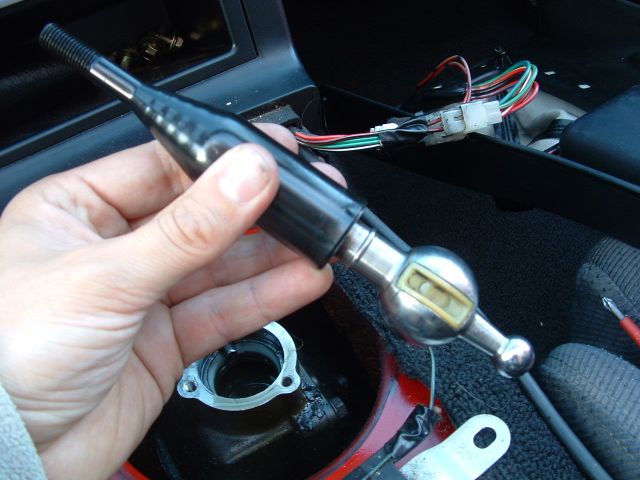
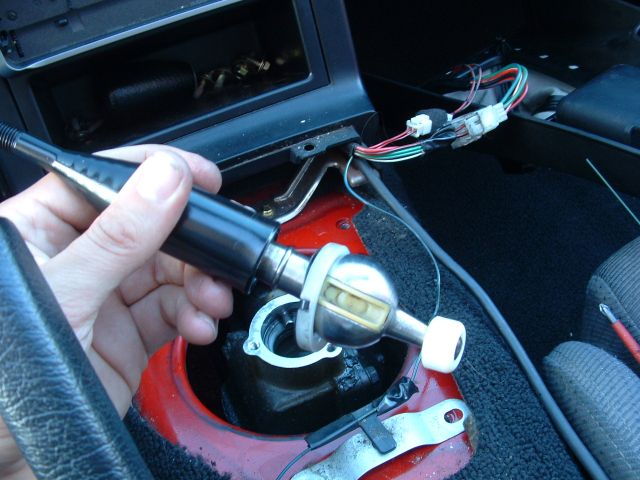
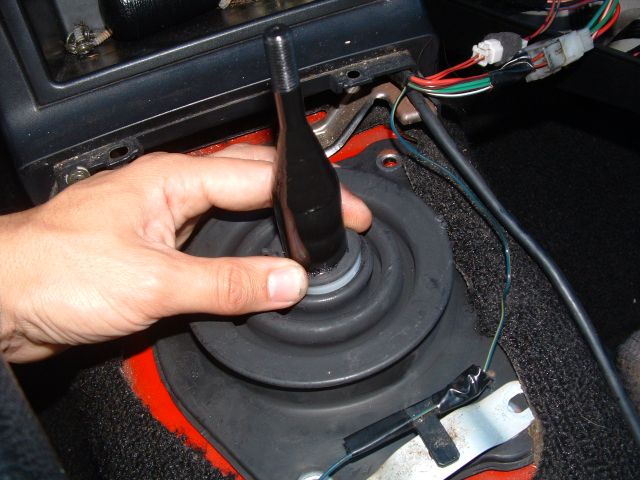
When the rubber is off, the middle part usually stays on the gear lever. If you can't slide it up by hand, we need to bring in the big stuff:
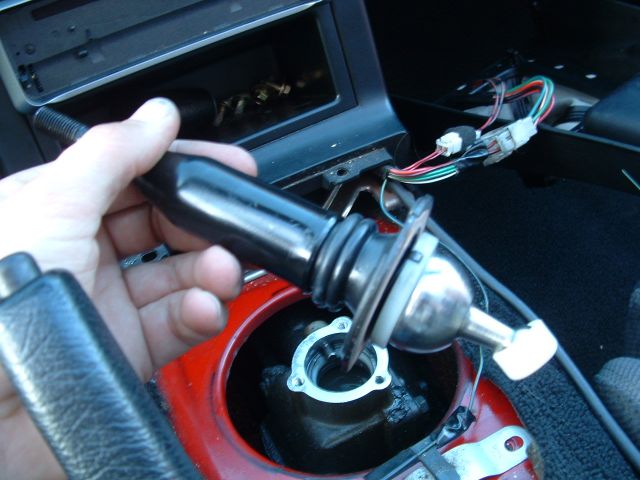
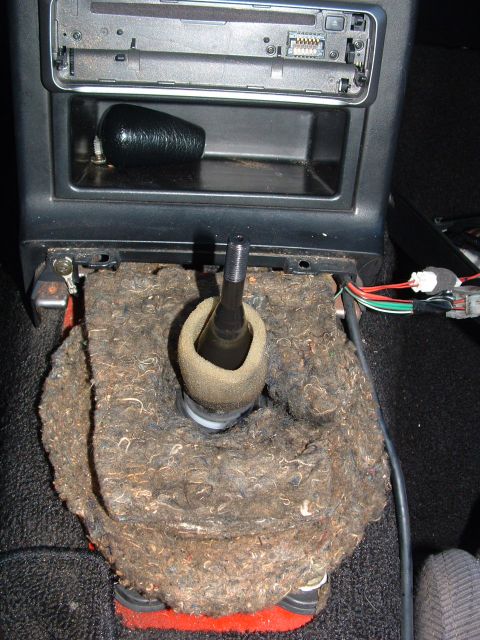
If this has come loose then you can put it aside and you will see the "small" rubber between the lever and the gearbox. This one is completely torn.
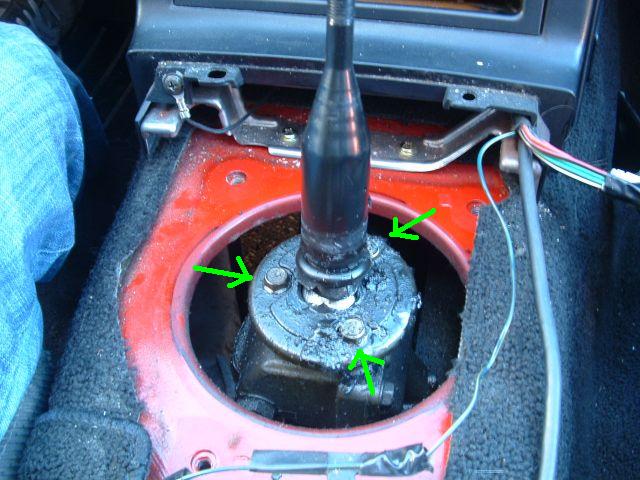
This rubber has, to attach it to the gearbox, a steel ring attached. On top there are three bolts, again size 10. Loosen them. Then you can pull the gear lever straight up.
ATTENTION: make sure that the gearbox is in its neutral position. This will make refitting the gear lever easier!
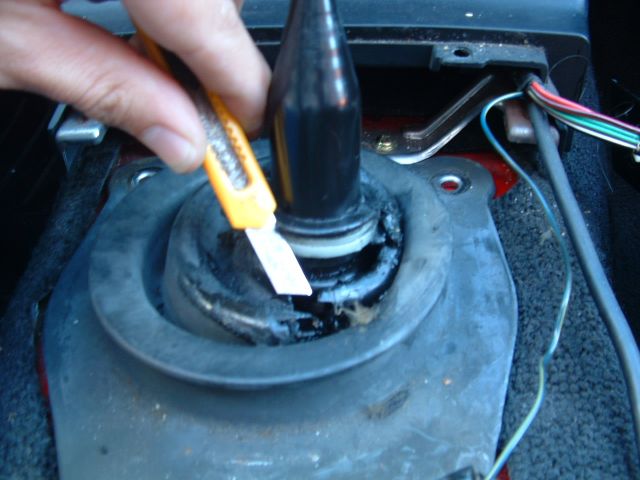
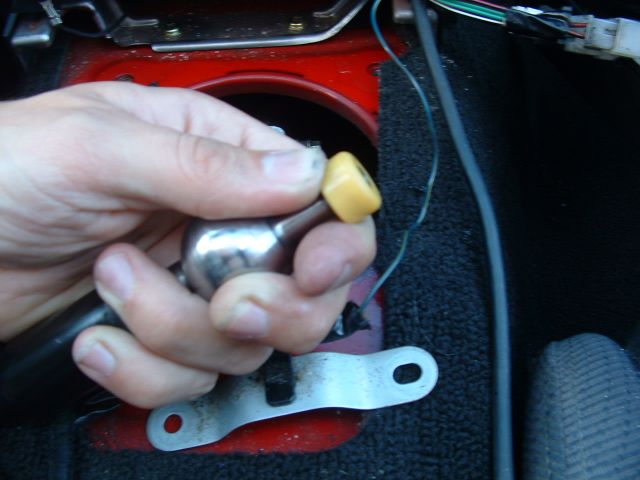
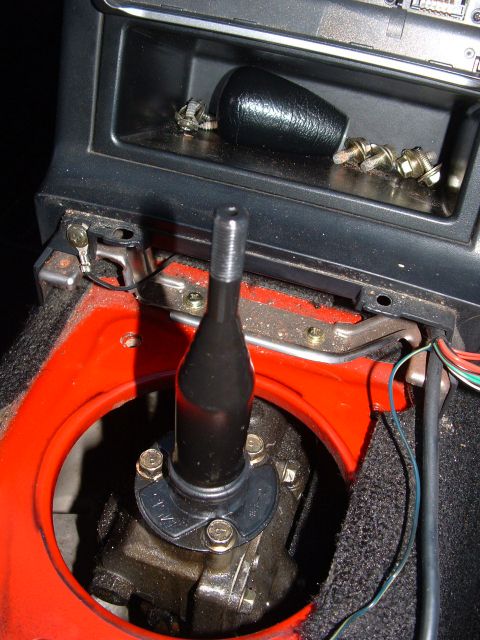
Then you can slide / pull the remainder (the ring) up and cut off the last bit that remains at the bottom around the gear lever.
Under the rubber is a plastic ring with a metal spring plate on it. This is large enough to be able to be removed like this (after the remains of the cuff have been removed). Clean them and set them aside. It has to come back on later.
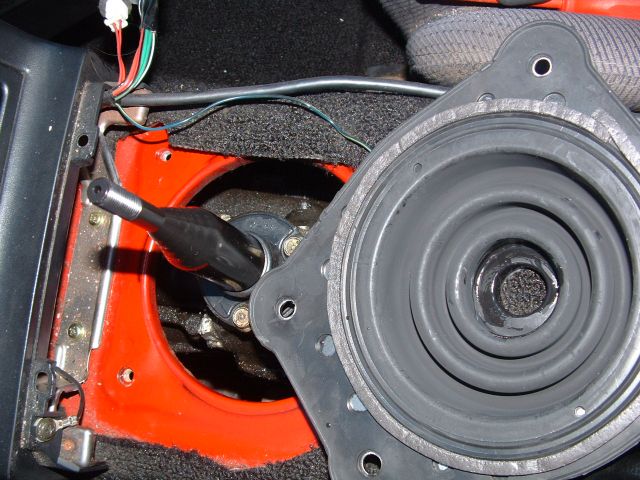
Then press the nylon ring off with your fingers. This is not easy. A lot of force is needed.
There it is, the gear lever, stripped of all old parts and remnants:
The "groove" has to go in the ridge that is in the front of the gearbox.
And now finally it is time to get the new stuff ready:
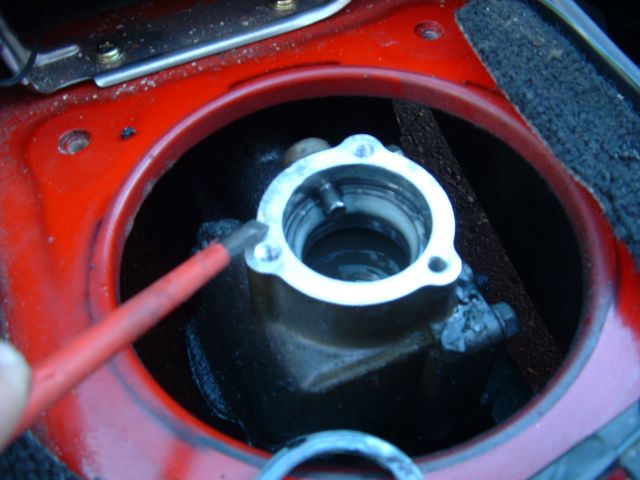
Oh, just before you start to assemble check if there is no dirt on the connecting surface of the gearbox. There is a gasket on the steel ring. Remnants of this may have stuck. If this happens, you can easily scrape it off with the flat side of a screwdriver. Be careful that the mess does not fall into the gear opening.
There has to be a bit of oil in the opening where the gear lever sits. This is to lubricate the "ball" and shifting easy. This oil must be replaced by removing the old one (for example with a syringe (ask a pharmacy, there is a good chance you will get it for free)). Then top up again with approximately 70cc ATF or gearbox oil. If you have put in too much will be forced out automatically if you lower the lever in. The level must be about 2 / 3mm below the ring (slightly higher than in the photo).
After you have cleaned the gear lever start by fitting the new cup. You can simply "click" it on. You have to use quite a bit of force.
Then fit the plastic ring with the metal spring plate:
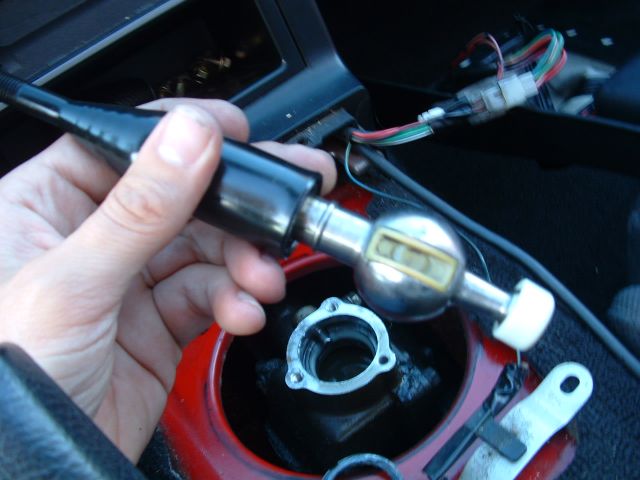
Next spray a bit of oil or some silicone spray on the lever and then slide the new rubber on from top to bottom:
Then the assembly can be placed back in the gearbox. It can be a bit difficult to get the nylon cup back in the right way. But in a few tries you should get it in. Put the three bolts back in and tighten. And then it should look something like this:
Also put a little oil around the hole of the big rubber so that it slides easily over the lever:
If you have slid it on, just push the plastic ring down until it sits against the bottom part of the lever:
Next put the four bolts in. Tighten them. And then the insulation can be put back on:
Next fit the center console. If necessary fit the connectors to the windows and center light. First fit the levers at the back and then lower the front. It should simply slide into place. If it gets stuck there probably is a wire in the way.
Fit the screws and put the gear knob back on.
And then ofcourse it is time for a test drive!

(Miata @ Circuit Le-Mans 2006)